Small interior demo can be scary, but it doesn’t have to be. With a scholarly plan, the right steps to ensure safety, and average tools, you can open up a room without breaking pipes, wires or your budget. Use this guide to plan your work, control dust and keep your home safe from start to finish.
Identify Load-Bearing Walls
Before you swing a hammer, make sure the wall that you want to take down is not holding anything up. A load bearing wall is one that supports floors, the ceiling, or beams.Click here for further reading. To remove one of these by mistake can cause you costly and dangerous damage.
- Check the basement or crawl space first; do the joists rest on this wall?
- In the attic look for beams or rafters which meet the wall.
- Generally, walls at right angles to the floor joists are load bearing.
- Take measurements of window or door openings; large headers indicate that load is being carried on the headers.
- Compare with any plans or blueprints as well as permits which you may have for the house.
- When in doubt, have a structural engineer check the plan.
- In case this is load bearing, have a beam designed in it and use temporary supports.
Disconnect Power and Water
Active electricity and water lines can quickly spoil your project. Before touching drywall or beginning work, turn off these utilities starting from your main electrical panel and water shutoff valve.
Disable all breakers connected to the area you’re renovating. Additionally, use a non-contact voltage tester on outlets and switches as well as any exposed wiring to ensure there is no power running through them before you begin your work. Label the breakers with painters’ tape so that when you are ready to turn the correct circuits back on you can. Shut the water off at the main valve or local shutoff to that room.
Turn on a faucet or two to relieve pressure. If disconnecting a capped line drain first, then use either push-fit caps or threaded caps rated for that type of pipe. Cover all open drains to prevent entry of dust. This short time spent can save on leaks, shocks and repairs later on.
Use the Right Protective Gear
Proper PPE prevents little projects from turning into trips to the ER. Dust, sharp edges and noise are part of the work of demo. Dress for it so that you will be able to move and work faster and safer. If at any time you are in doubt as to any step, consult some local professional such as demolition contractor Lowell Hills.
- Protection for the eyes or full face protection
- N95 respirator or P100 for heavy dust
- Cut proof gloves, but allows gripping
- Long sleeves and pants not easy to catch
- Work shoes or boots with good toe protection
- Protection for the ears while using saws and hammers
- First aid kid and cell phone readily charged
How to Remove Drywall Safely
Before removing any parts of your home construct, it is advisable to test if constructed before 1980. Old joint compound may well contain asbestos and old paints may contain lead. If either testing is positive, or you are in doubt, stop and hire licensed abatement. No project is worth the health involved.
Protect the floor with rosin paper or drop cloths. Remove trim and baseboards using a thin prybar; cut caulk seams with a sharp utility knife. Shut off the power and the water (again!) and again check your lists. A stud finder can be used to note where the studs are, and also where you know the wires go. Make an inspection hole at shoulder height. Look inside (carefully!) with a flashlight, noting the wires, plumbing, plywood blocking, etc.
If all is clear, cut the drywall into reasonable sections. A drywall saw or an oscillating tool can help you control the length of your cuts, so that you do not dash behind the cut and perhaps nick existing lines back there.
Work from the top down. Get the panels up off the studs rather than pulling them. Pull out or tap in any proud nails and remove the screws as you go. Keep a contractor’s bag handy so the pieces do not pile up and threaten your standing room. Lightly mist the dust clouds with a pump sprayer, to keep them down. Clean them with a HEPA shop vac (https://www.youtube.com/watch?v=WR7MZizmkN4), and avoid a good household vacuum, both for the machine’s sake and for your lungs.
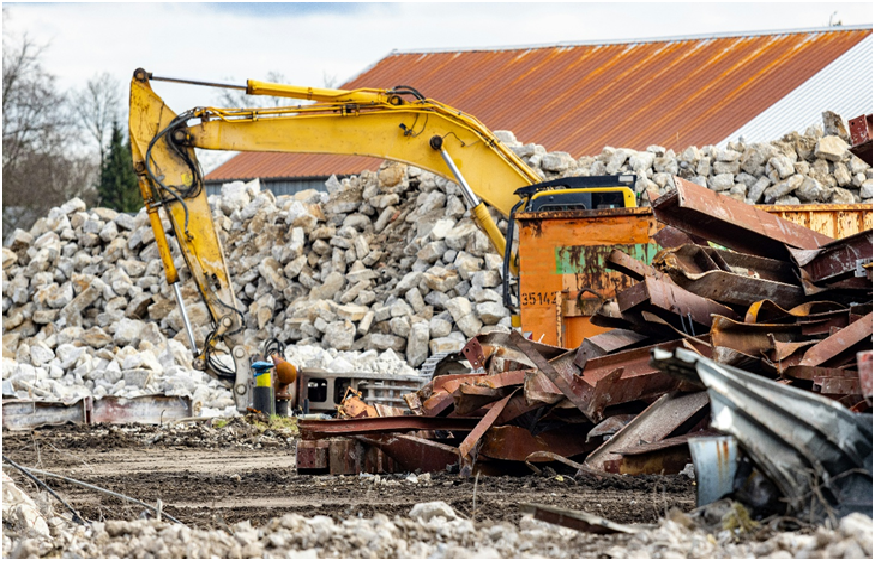
Cleaning and Disposing of Debris
A clean work area is a safe work area. Plan the flow of debris before you begin, so that junk does not pile up in the hallways. Make a clear shot from workroom area to door and be sure to keep bags handy near the door, in case you want to get it away fast.
- Sort as you go, in piles for drywall, wood, metal, and junk.
- Bag small pieces of the drywall and stack up the wood studs for reuse or recycling.
- Arrange for junk hauling or construction debris removing if you do not own a truck.
- For larger jobs, have a small dumpster delivered to save stops.
- Look up the local regulations, since many areas have recycling for metals and clean gypsum.
- Keep a broom, flat shovel, and HEPA vac at the door, for quick cleanouts.
- At the end of each finishing day, make a final clean about the place.
- Familiarize yourself with local waste management procedures, to save yourself a (large) fine.
Want a quick and readily available way to find a nearby disposal or recycling outlet, while you study the job? Use this map below as a handy reference when arranging the business of your drop or pick-up of rubbish:
Careful planning and thought will prevent damage. You have studied before, and planned and checked the structure, killed power and water (again!), have dressed for the job, taken off the drywall with caution and care, and cleaned it in working. With this sort of smartness and helping “around the corner,” like timely junk age scooping, or a rented dumpster the weekend, you will finish faster and better, have fewer surprises in finish-up, and a tidier place to live in.